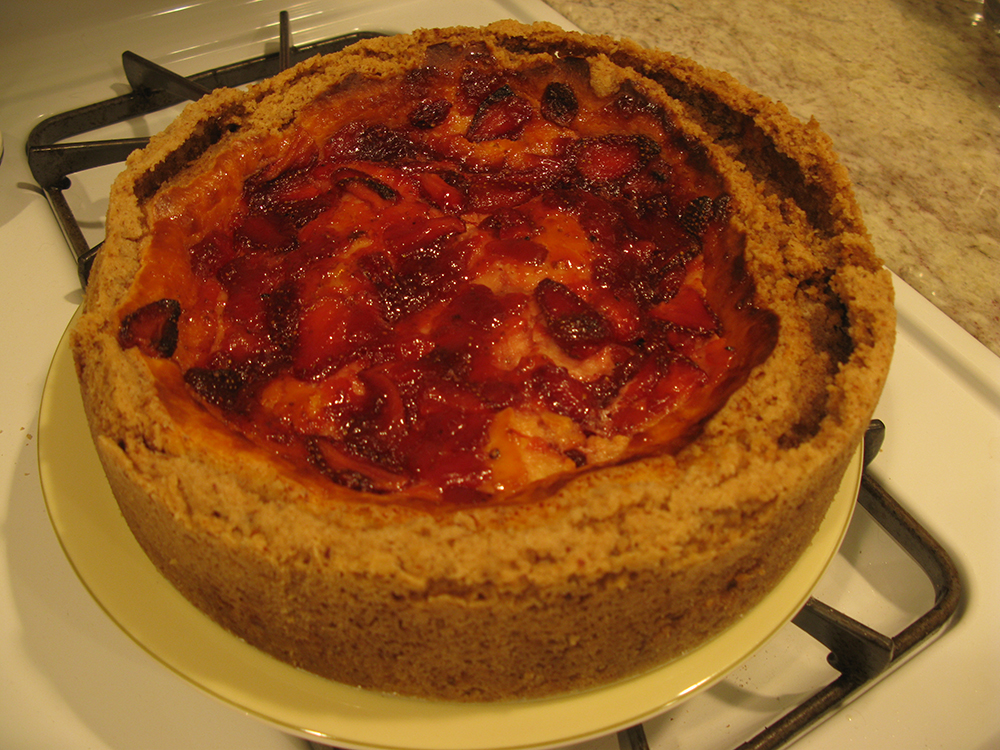
a gluten free cheesecake for Matt
The first cake I'd like to talk about is this one, which my brother Matt and I whipped up Friday night for his birthday party. In addition to being delicious, it was also gluten free, not that you could tell. If you have any sort of experience with gluten free baking, that is pretty much the highest praise you can give. Matt pretty much handled the crust, while I took care of the filling. Between this and our cheesey bean dip and guacamole, I'd say we made a pretty good team. Stranger things have happened.
For this cake, I kind of created my own Frankenstein of recipe, combining bits and pieces of three different desserts. I got the cheesecake filling one place, and the gluten-free crust and (the most basic idea for the) strawberry topping at another. Surprisingly, the three elements combined to make one great cake. I baked it in what I guess was a 9 or 10 inch cake form at 350 degrees.
Strawberry Ricotta Sour Cream Cheesecake
adapted from bakespace.com and glutenfreeguide.com
Crust
1⅓ cups flour or Gluten Free Baking Mix such as Pamela's (I used a gluten free cake mix and subsequently cut down on the brown sugar)
a scant ½ cup dark brown sugar
½ cup cold butter, cut into pieces
⅔ cup finely chopped pecans
Stir the flour mix and brown sugar together in a medium bowl. Cut in the butter until fine crumbs form. Stir in the nuts and pat into your pan, covering the bottom and pressing up the sides. Try not to leave too much dough in the corners of the pan.
Filling
16 oz ricotta cheese
16 oz cream cheese, softened
16 ounces sour cream
1½ cups white sugar
2 large eggs
1 teaspoon pure vanilla extract
½ cup butter, melted
Beat together all the ingredients and pour into the crust. Place a piece of foil or a pan below the cake to catch any drippings that might leak from the pan. Bake at 350 degrees until the filling starts to solidify. Let cool on wire rack for 30 minutes and then refrigerate for at least four to five hours before serving.
Topping
10 or so strawberries, sliced
⅔ cup strawberry jam
⅓ cup sugar
pinch of salt
cracked black pepper
Simmer jam and sliced strawberries in a saucepan over medium heat with sugar, salt and freshly cracked black pepper until jam is syrupy and strawberries are soft. Pour over the cheesecake after you remove it from the oven.
Of course, that is not to say that things went off without a hitch. First of all, I didn't allot nearly enough time to cooling the cheesecake, so it was still slightly warm when we sliced it up for party guests at around 11:30. Plan ahead for cheesecake, people! Secondly, the recipe for the crust claims that you may have enough crust for a second smaller pie. They are not kidding. If you like your cheesecake to only have crust on the bottom, you could get away with making half as much crust. If you want some crust on the sides, you could absolutely get away with ⅔ of the recipe, and I've scaled the above measurements accordingly. Finally, do not, I repeat DO NOT, bake the strawberry topping onto your cheesecake. Some recipes call for baking a sour cream topping onto your cheesecake midway through the baking process. That might work, but baking on a luscious strawberry jam is only going to dry it out. It will still taste good, but it will look shriveled and sad. Don't do it.
The other cake is not as good as the cheesecake in my opinion, but if you are the type of person who loves chocolate cake, you might disagree. Laura pulled up this recipe over two years ago by searching for a "simple chocolate cake," and I was blown away by how good it was. Since she first made it, I've tried to replicate her results at least three times, but for whatever reason, it's never quite as good as I remember it. However it's still a good chocolate cake with delicious chocolate frosting, and its easy. The first time we made it, we made a pattern with red hot candies in the chocolate frosting, and that was surprisingly amazing. The heat of the candies leeched into the cake, and the moisture of the frosting was absorbed by the red hots, creating a surprisingly balanced cinnamon taste and a thick chocolately frosting. I vow never to make the cake without them again. (I once tried baking the red hots into the cake itself, but that proved disastrous.) I most recently made this for Laura and my 24th birthday party. Even without red hots, it turned out pretty good, but I was a little tipsy when I made the frosting and I didn't take the time to properly whisk in the powdered sugar, which made it a little lumpy. Otherwise, it was good and chocolatey, if totally overshadowed by Dave's amazing and picture perfect chocolate cheesecake with its buttery chocolate crust.
Simple Chocolate Cake
adapted from cooks.com
Cake
1¼ cups sugar
¾ cups butter, softened
1 tsp vanilla
3 eggs
2 cups flour
1 tsp baking soda
½ tsp salt
1 cup milk
6 oz. of semi-sweet baking chocolate, melted and cooled
Beat sugar, butter and vanilla in a large mixing bowl. Add eggs and beat to combine. Stir in melted chocolate. In a smaller bowl, combine flour, baking soda and salt. Beat the dry ingredients and the milk into creamed mixture alternating between the two ingredients. Pour batter into a pan (mine is 10 inches around, I think), and bake at 350°F for 30-35 minutes or until a toothpick inserted in center comes out clean.
Frosting
½ cups butter
2 oz semi-sweet baking chocolate
1 tsp vanilla
⅛ tsp. salt
2-3 tbsp. milk
2½ c. powdered sugar, divided
red hot candies, optional
Melt butter and baking bar in microwave for 45 seconds or on stove top, and stir to mix well. Let cool to room temperature. Beat 1 cup powdered sugar, vanilla and salt into chocolate mixture until creamy. Gradually beat in remaining powdered sugar alternately with milk until smooth. Do not frost the cake until it has cooled for at least 20 minutes. Decorate with red hot candies.
I'll leave you with this shot of Laura and I blowing out the candles on our birthday cake.
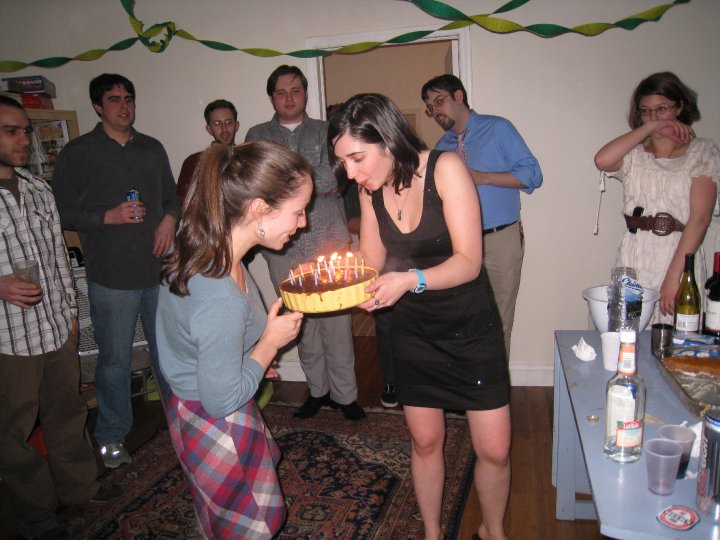
making all our wishes come true

No comments:
Post a Comment